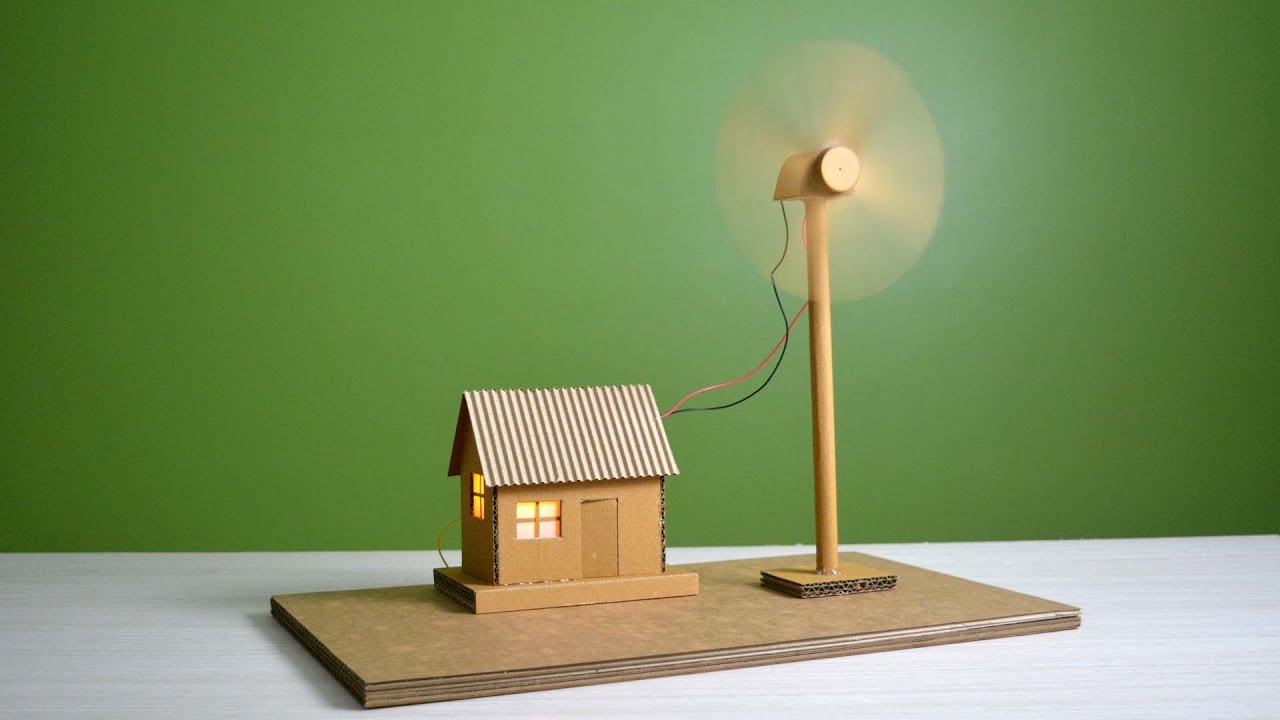
The Importance of Creating Mini Wind Turbines for Educational Demonstrations
Mini wind turbines are a fantastic way to introduce students to the principles of renewable energy and sustainable technologies. By building these small-scale models, students can gain hands-on experience in engineering, physics, and environmental science while also learning about the potential of wind power in generating electricity. Educational demonstrations using mini wind turbines can spark curiosity and inspire the next generation of innovators and environmental stewards.
Materials Needed for Building Mini Wind Turbines
Basic Materials:
- Cardboard or lightweight wood for the turbine blades
- Small DC motor to generate electricity
- PVC pipe or wood dowels for the turbine frame
- Wires and connectors for electrical connections
- Hot glue gun or adhesive for assembly
Optional Materials for Advanced Projects:
- Arduino or Raspberry Pi for monitoring and control
- 3D printer for creating custom parts
- Wind speed sensor for data collection
- LED lights for visual feedback
Step-by-Step Guide to Creating Mini Wind Turbines
Step 1: Designing the Turbine Blades
The design of the turbine blades is crucial for the efficiency of the mini wind turbine. Consider factors such as blade length, angle, and shape to maximize energy production. Use CAD software or templates to create consistent and aerodynamic blades.
Step 2: Building the Turbine Frame
Construct the frame of the mini wind turbine using the chosen material. Ensure that the frame is sturdy enough to support the blades and motor. Measurements and precision are key to achieving optimal performance.
Step 3: Mounting the DC Motor
Secure the DC motor to the frame in a way that allows it to spin freely when exposed to wind. Align the motor shaft with the center of the turbine blades for efficient power generation.
Step 4: Wiring and Electrical Connections
Connect the motor to a rectifier to convert the generated AC power into DC power. Wire the turbine to a battery or power storage device to store the electricity for later use. Test the electrical connections to ensure proper functionality.
Step 5: Testing and Optimization
Place the mini wind turbine in an area with consistent wind flow to test its performance. Monitor the electricity output and make adjustments to the design if needed. Optimize the turbine for maximum efficiency and power generation.
Benefits of Using Mini Wind Turbines in Educational Demonstrations
Integrating mini wind turbines into educational demonstrations offers a range of benefits for students and educators alike. These benefits include:
- Hands-on learning experience in renewable energy technologies
- Interdisciplinary approach to STEM education
- Critical thinking and problem-solving skills development
- Environmental awareness and sustainability education
- Inspiration for future careers in engineering and green technologies
Conclusion
Building mini wind turbines for educational demonstrations is a rewarding and educational experience that can inspire and empower students to become agents of change in the transition to a cleaner and more sustainable future. By following this ultimate guide and exploring the possibilities of creating mini wind turbines, educators can ignite a passion for renewable energy and environmental stewardship in the next generation.

